


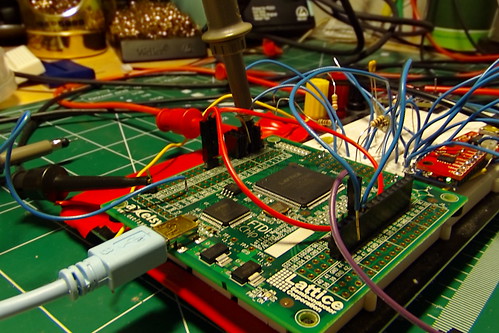
The development board I chose for this project is the Lattice MachOX2 board. (P/N: LCMXO2-7000HE-B-EVN ) Its a very simple board, cheap, and easily obtainable from a supplier I already use. It doesn’t have a lot on the board, the MachOX2 has an internal oscillator, core voltage regulator, and configuration flash both of which they take advantage of on the eval board. All that they need to get the chip up and running is an IO voltage regulator (3.3v in this case) and a FTDI chip for programming. They also include 8 LEDs for debugging and the proverbial ‘blink’ example.
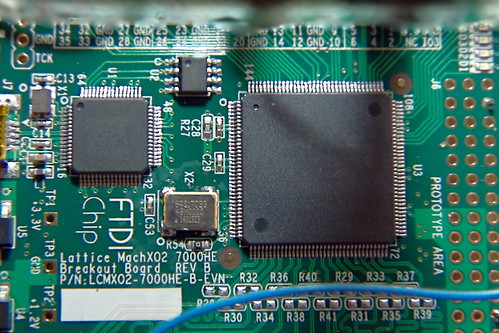
Even though the MachOX2 has an internal oscillator there is a7.0mm x 5.0mm 4-SMD footprint for a oscillator which routes to pin 27 at a 3.3v logic level. From what I could figure out the internal oscillator couldn’t be routed on a primary clock path, so I fitted a 48mhz oscillator to the board. I was likely to need an external clock anyways since the internal one may not be stable enough for the high speed serialization.
Another modification I made to the board was to change one of the IO supply voltages. The default configuration is that all of the IO banks are fed with 3.3v across a 1 ohm resistor. There are two advantages to this, by measuring the voltage drop across that resistor you can determine the current you’ll need if you move your design to a custom PCB. The second being by removing that resistor you can feed a different IO voltage to any bank you like ( or just a higher current supply if necessary). Details of the power measurement and modifications are on page 15 of the breakout board’s user guide linked below.
For the software I went with the Lattice Diamond package. There is another option from lattice called ispLEVER which I havn’t tried at all so I can say anything about it. I did have an issue with the 64-bit version of Diamond reconising the FTDI JTAG interface on the eval board. I didn’t have this problem on the 32-bit version of the software so that is what I’m using for now.
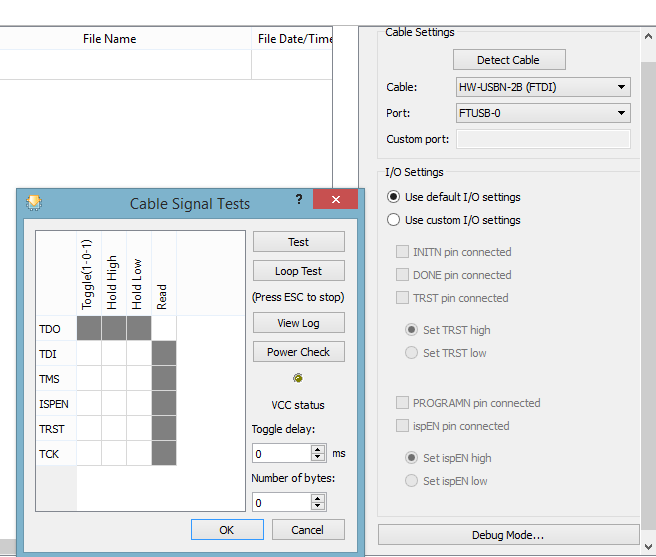
eeWiki has done a great tutorial on using Lattice Diamond for the first time so I don’t duplicate those steps here. Another option is the demo code provided by Lattice for the Breakout Board. Its available from the MachOX2 Breakout Board site under ‘Downloadable IP’. They do essentially the same thing main difference is that the eeWiki one is VHDL where as the Lattice one is Verilog. It seems that much of the Lattice examples and documents prefer Verilog so I followed the eeWiki for setting up the environment but used the Verilog files from Lattice. Since I had some issues getting the FTDI drivers to work correctly I would add its a good idea to check that you can talk to your programmer early in the process. To do that open up the programming window, and tell it what cable you have.
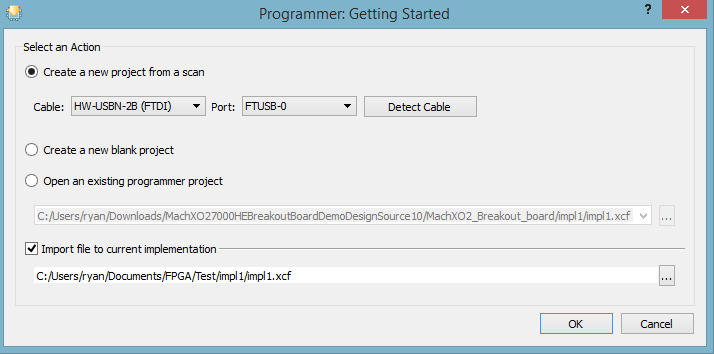
If you haven’t synthesized your design yet, you will get an error, but that’s ok. The error you’ll get is “ERROR – JEDEC file cannot be found.” If you see anything about the FTDI chip not responding you may have a driver/communication problem. There is a nice way to check this, after acknowledging the error yo will have a ‘Cable Settings’ window on the right side. The ‘Debug Mode’ button will give you a debug tool to run tests on the cable. When you click the test buttons the light above ‘VCC status’ will change to Green ( test passed ) or Red ( test failed ). If a test fails the error message will be in the output window.
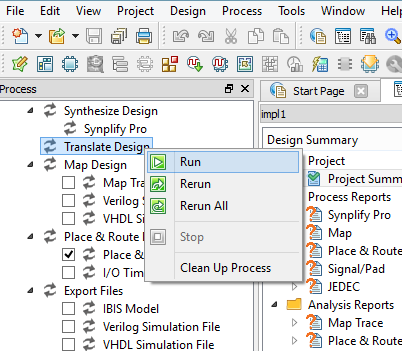
There is a one other stumbling block that I ran into initially. Which was all the different steps in building the output file. One thing is that if you have not synthesized your design yet you will not be able to connect your pins to anything. The software doesn’t compute which wires are available for connecting until after your code is synthesized and translated. To accomplish this goto the process pane, double click or right click on Translate design to run. You need to do this anytime you made changes to the code adding/removing wires, especially if they are connected to pins.
Links:
MachXO2 Breakout Board Evaluation Kit User Guide
eewiki Lattice Diamond Tutorial
